
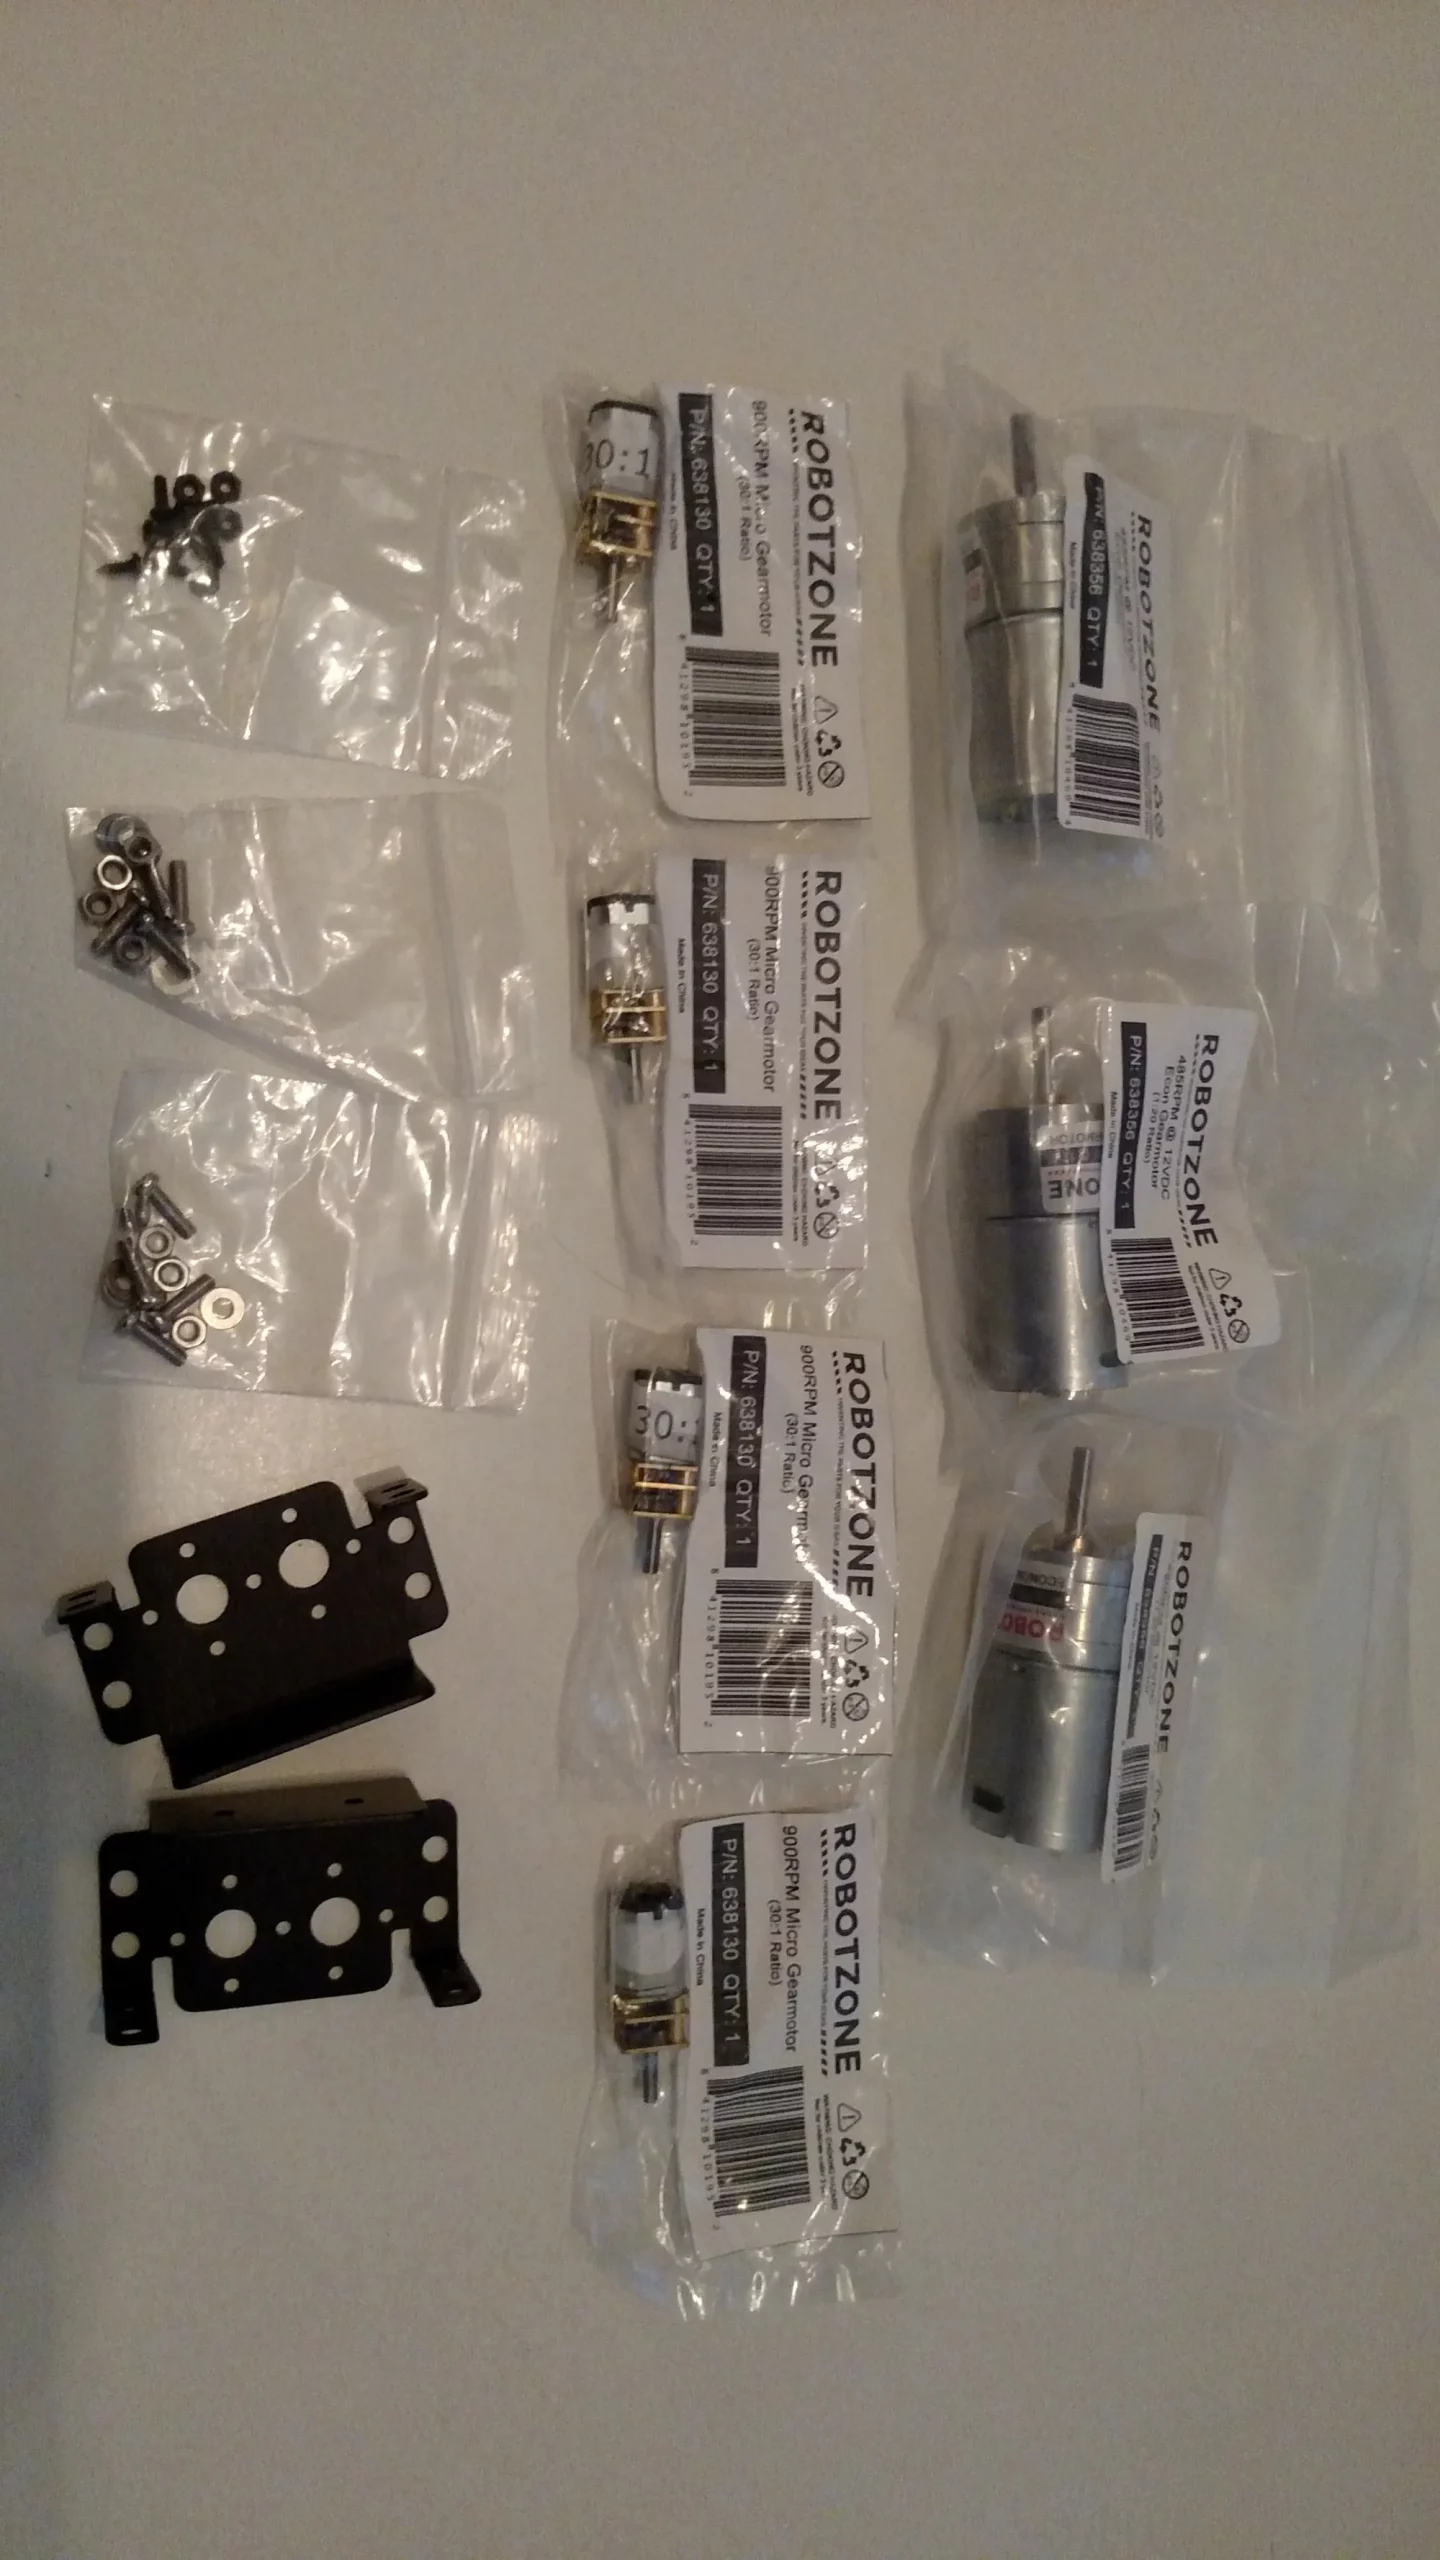
New parts in the mail! Pulled Torsion out of its box and wow! It looks even uglier than I remember. But not to worry, most of these parts are being scrapped.
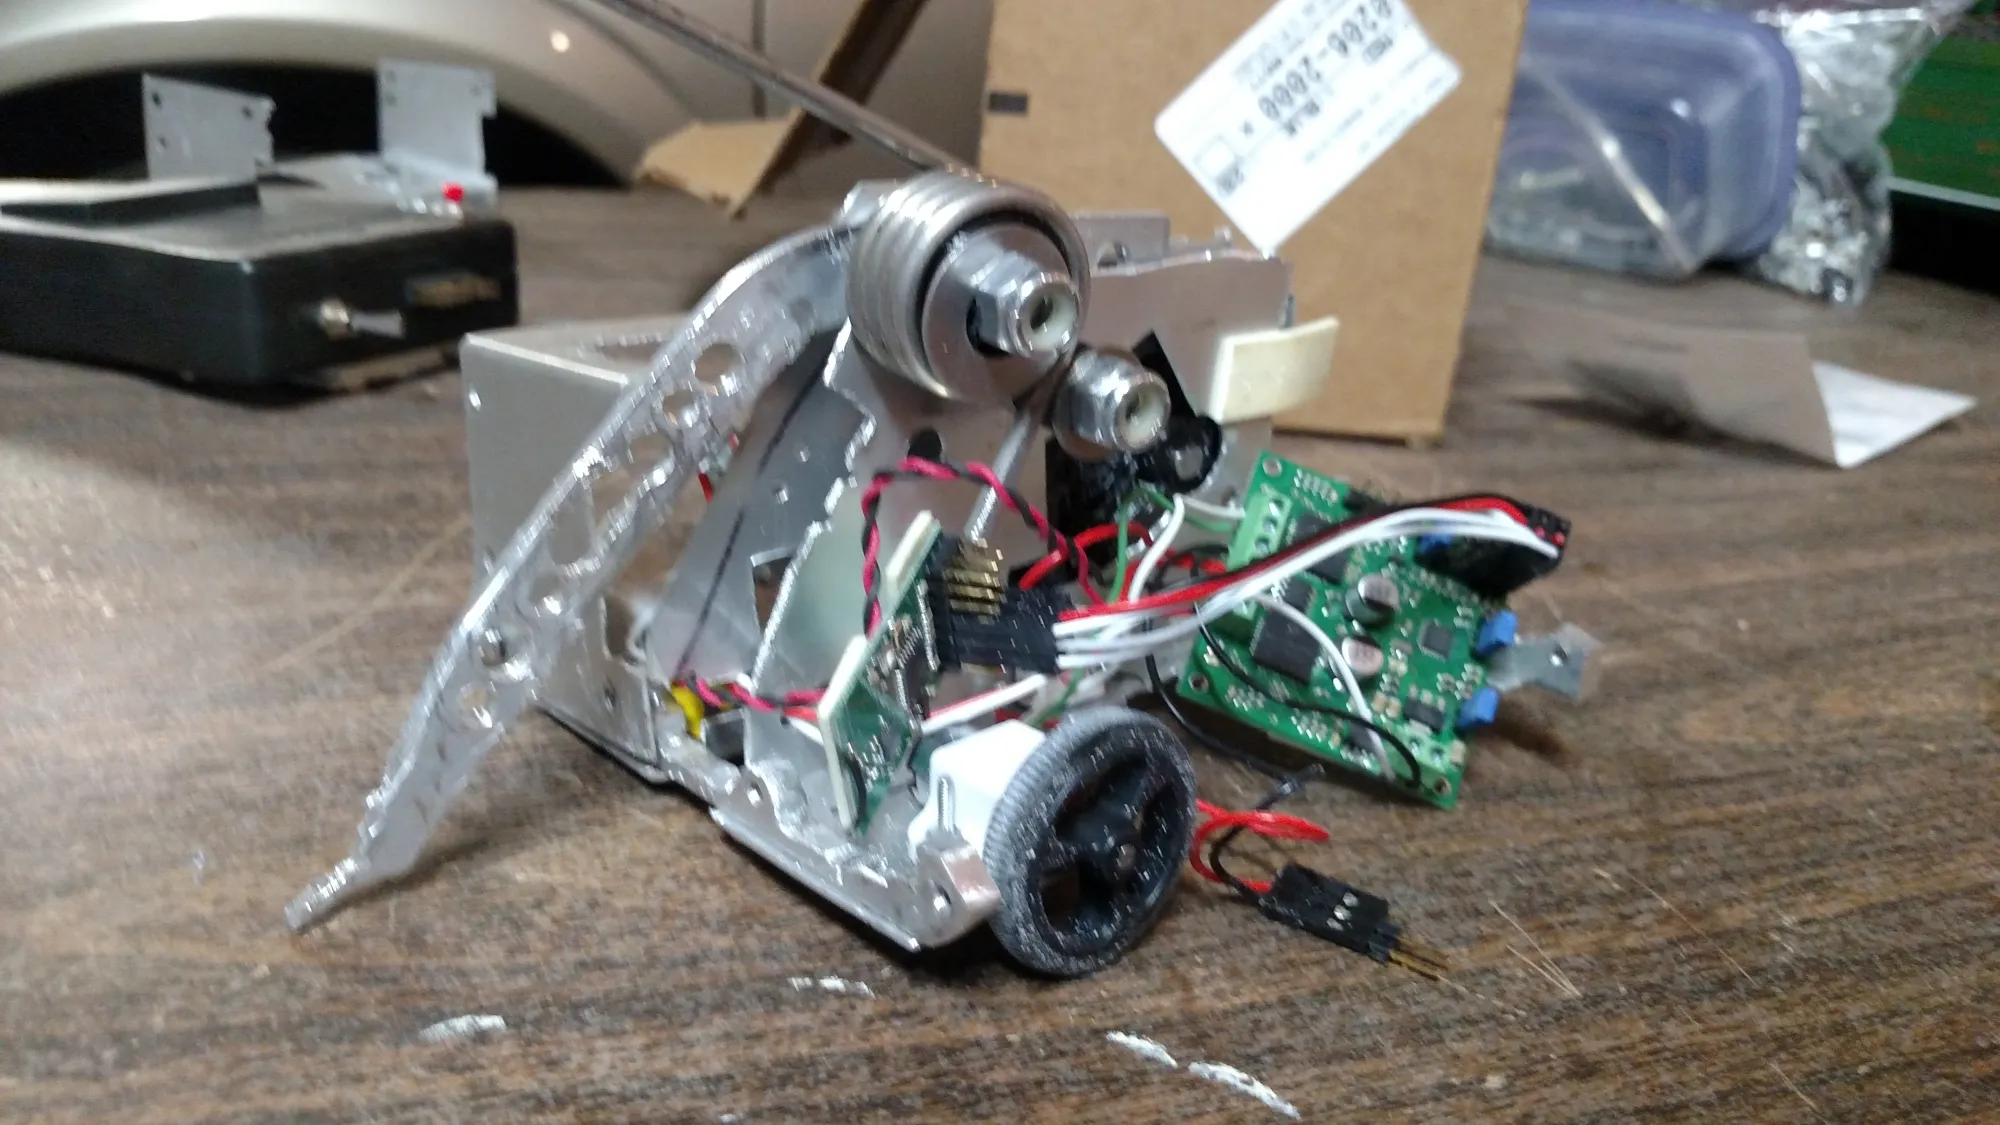
Parts I’m Keeping:
- Wheels – Brackets – I’m really happy with these Polou Wheels. No issues.
- Battery – I used an E-Flight 30C 450mAh that lasted much longer than needed
- Trex Jr ESC – I’d rather use TinyESC’s or a VEX if I were to build this from scratch, but it works just fine and I don’t want to spend the cash.
- Tx/Rx – No issues with the transmitter or receiver
Everything else (The arm, springs, armor, frame, Tsiny Motor, etc) is all scrap.
Planned Upgrades:
- Faster motors
- UHMW armor
- HXT12KG servo for the lifter. If all goes to plan, this robot will be spring-assisted instead of spring-powered.
The three big motors are for a beetleweight I’m planning 😉
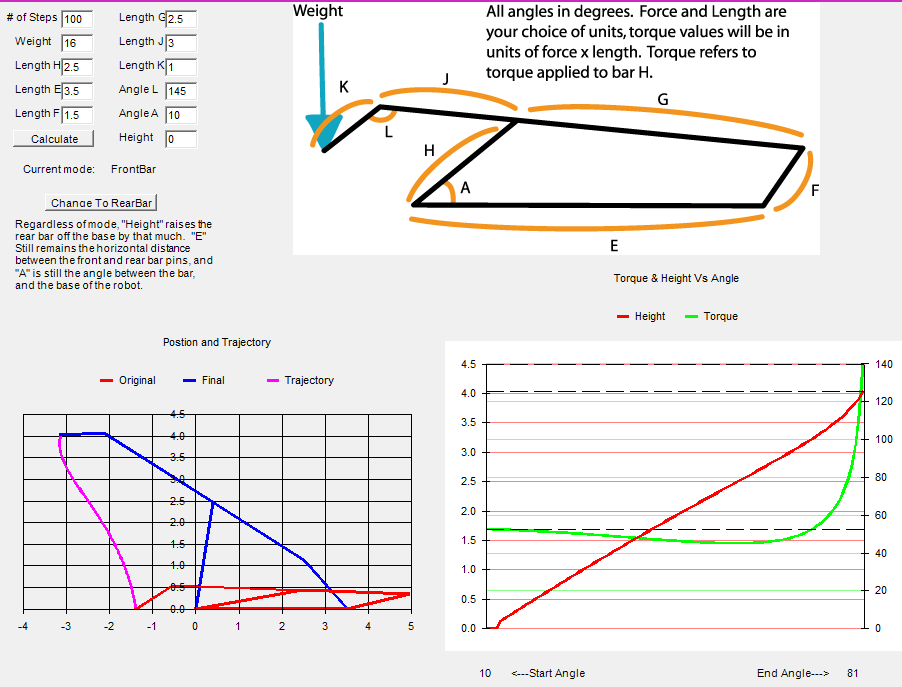
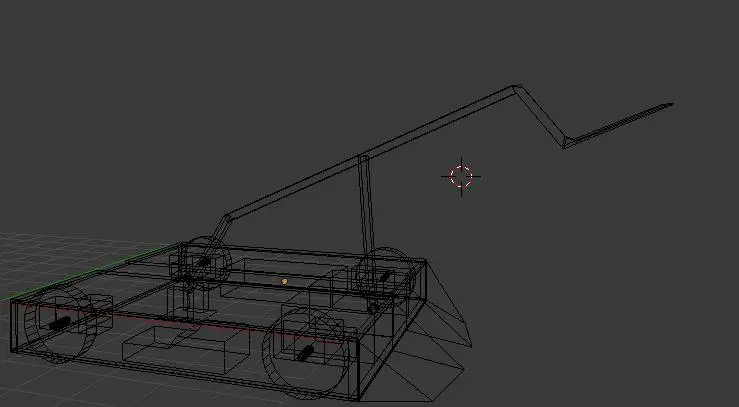
After making a rough model with some Lego Mindstorm pieces, I found this awesome 4-Bar Flipper Calculator. I played around with it until I found some values I thought would work. This gave me a rough idea of how much torque I would need to lift a 1lb object. Then I modeled the flipper in Blender to get a nice look at it in 3D.
2oz over the weight limit again. I wanted to run two servos, but it looks like I’m going to have to just run one. The HXT12KG has 250 oz-in at 9v, so one should be plenty.
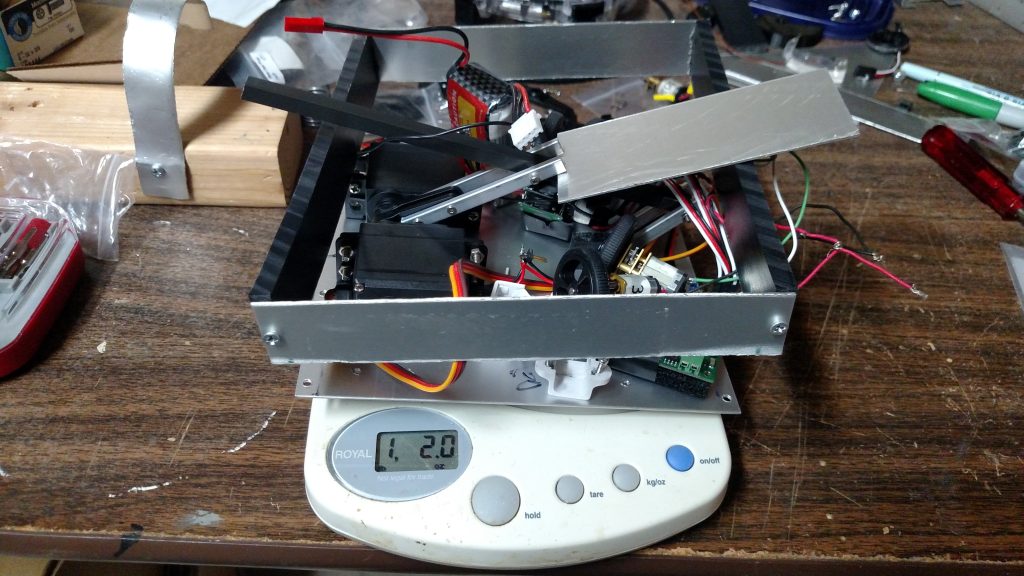
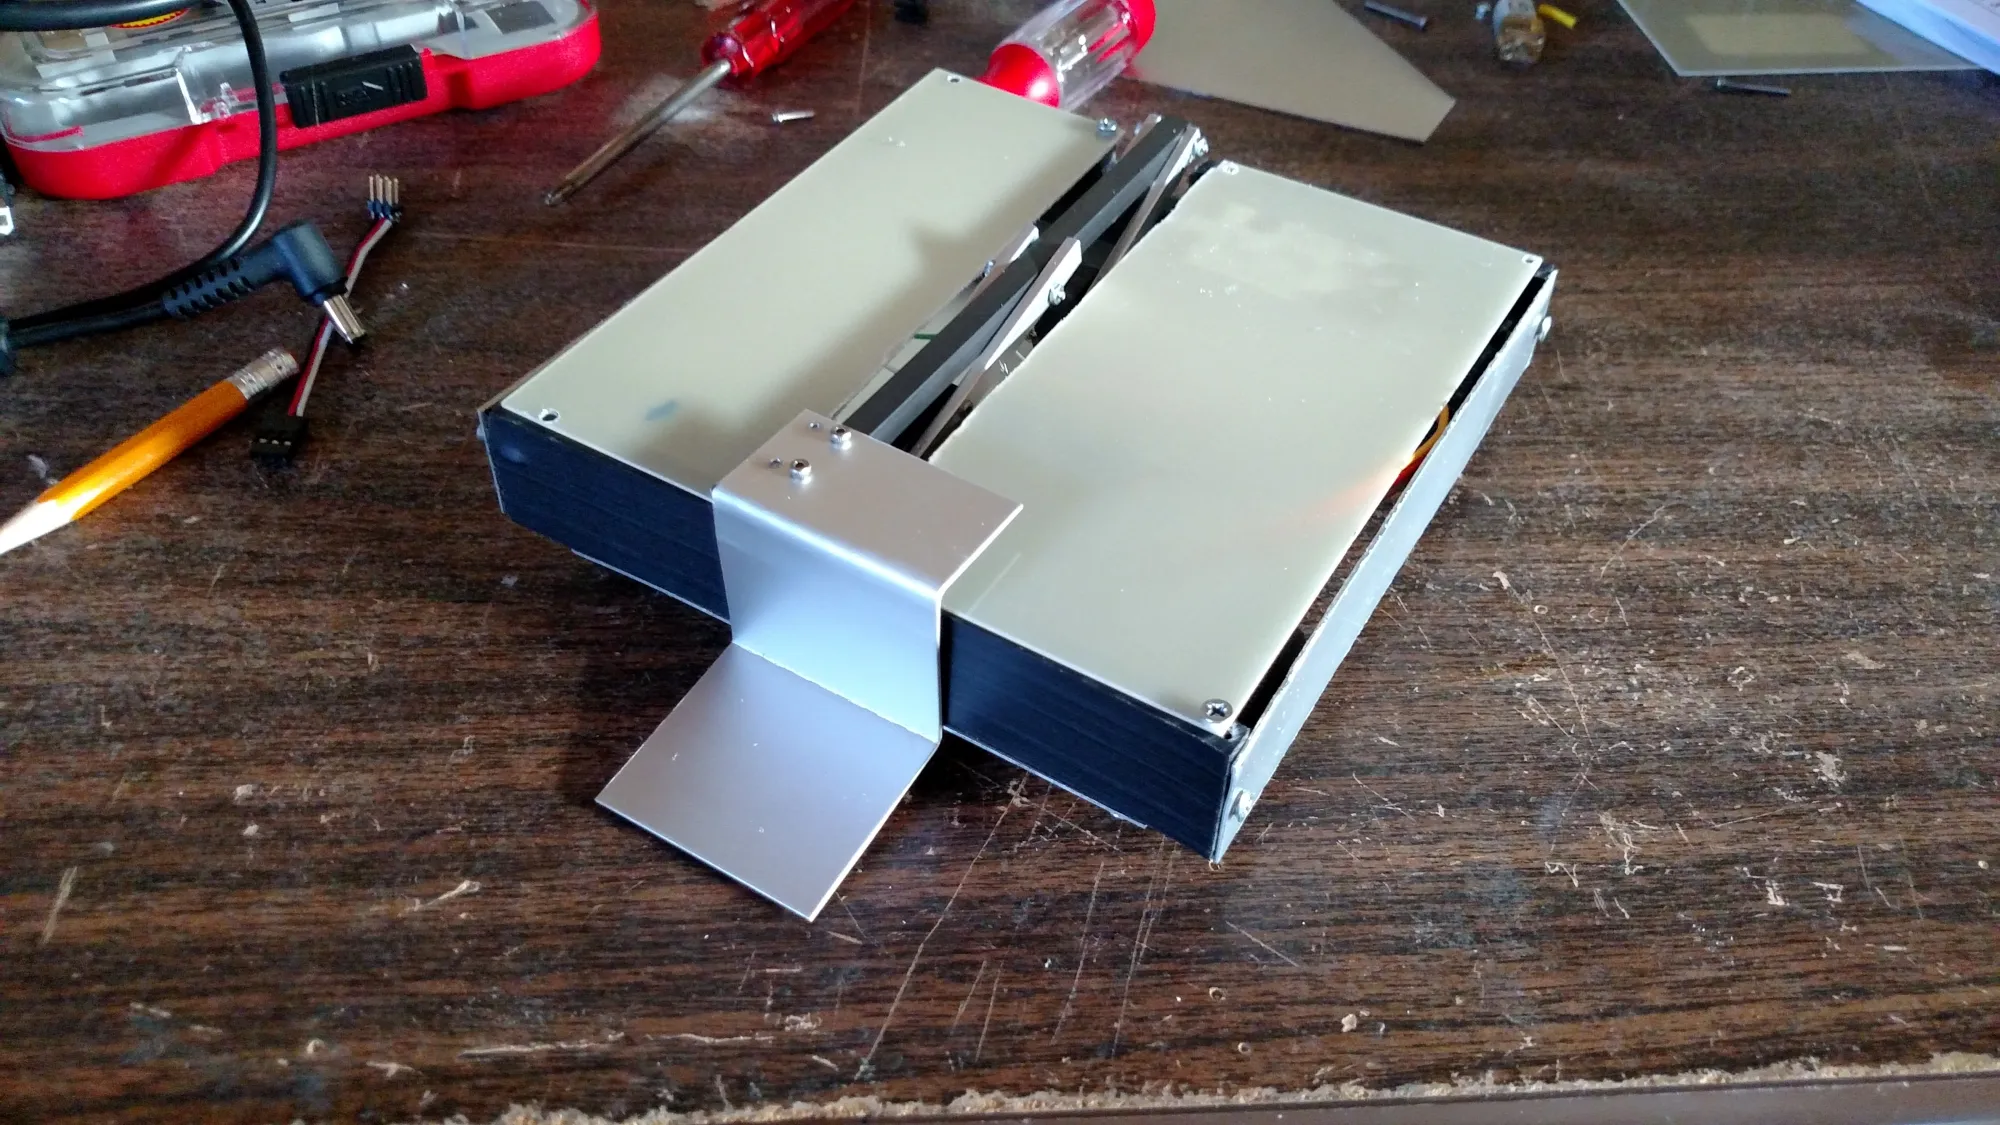
Fried the 9v regulator accidentally but I should have a new one coming soon. The garolite came in though, so I made the top armor. I made the scoop by bending some extra aluminum. Hopefully it’s tough enough. It still feels flimsy in the middle, so I’ll add an extra middle piece of UHMW with holes in it so the battery and ESC can fit.
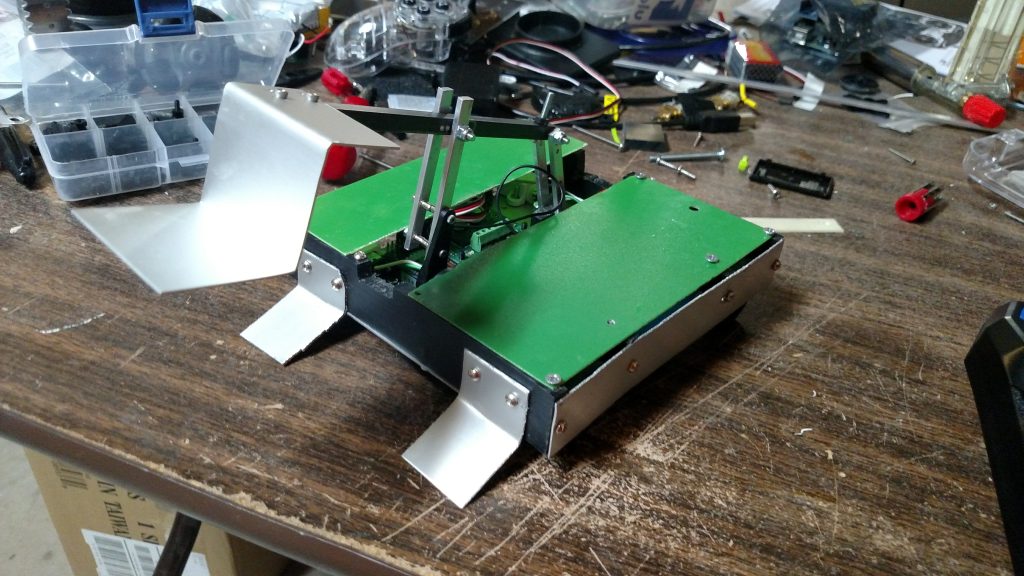
I’ve added some wedges to the front of the bot to stop it from tipping over as it lifts. They work great so far! I’m not sure if they’ll survive hits from spinners, but we’ll see. The top panels have also been painted green, and I plan on adding some stickers with the bot’s name on them. You can also see the hole drilled in the back for access to the power switch. I’m using a Fingertech Hex Key switch, so I just have to insert the hex key into the hole and turn it to switch the robot on and off.
Lastly, I made a new rear hinge that sticks out in this wacky shape behind the robot. This lets the robot self-right, as demonstrated in this video.